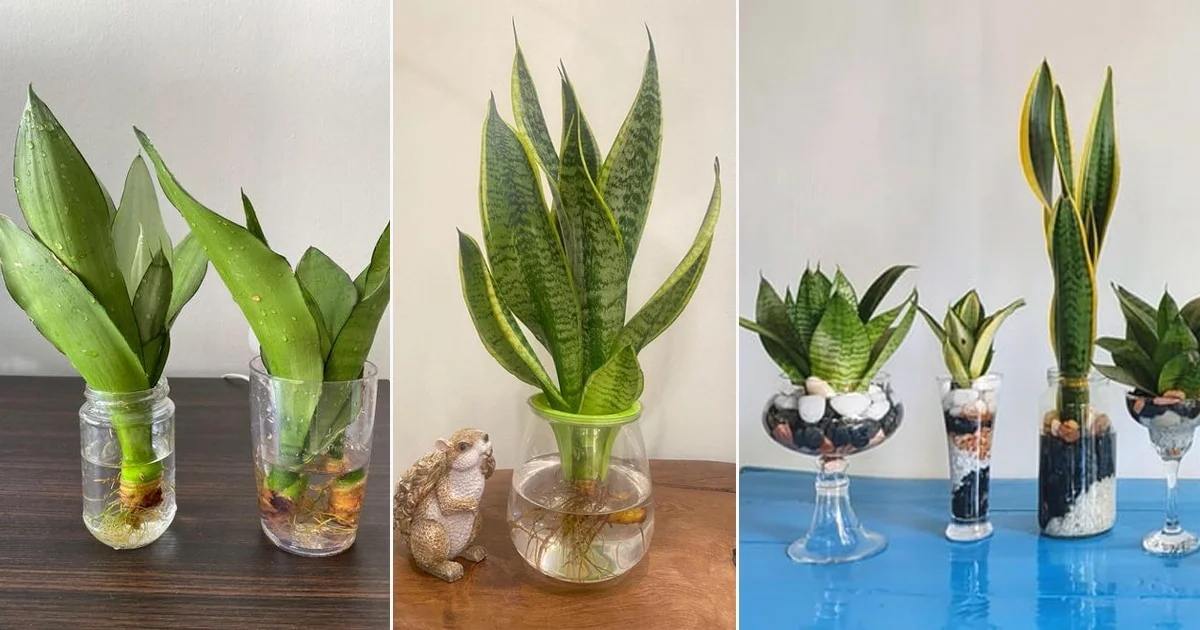
**Introduction:**
Discover the fascinating world of propagating San Severia, commonly known as snake plant or mother-in-law’s tongue, through a simple yet highly effective technique. In this comprehensive guide, we will walk you through each step, ensuring successful results and a thriving collection of these versatile plants.
**Step 1: Plant Selection and Characteristics:**
Begin by carefully choosing healthy plants with unique characteristics, free from fungal traces, mold, or bacteria. Opt for specimens that exhibit distinct features, emphasizing their overall health.
**Step 2: Sterilization and Pruning:**
Sterilize pruning shears with either ammonia or hydrogen peroxide, ensuring a clean tool for the job. Proceed to prune the selected plant, focusing on leaves that are both strong and healthy. For each cutting, maintain a length of approximately 10 cm, making precise cuts to retain the original direction of growth.
**Step 3: Creating Cuttings:**
Carefully cut each leaf into smaller sections, around 3 cm in length, ensuring consistency in the direction of the cut. This process is crucial to maintaining the proper orientation of the cuttings, promoting successful rooting.
**Step 4: Setting Up the Propagation Container:**
Prepare a transparent container, ideally around 30 cm in height and 20 cm in width. Fill it with approximately 15 cm of water, and insert a sterilized sponge, creating an ideal environment for root development.
**Step 5: Placing Cuttings in Sponge:**
Carefully insert the cuttings into the sponge, spacing them evenly for optimal support. The strategic cuts in the sponge allow mechanical support for the leaves, aiding in successful rooting.
**Step 6: Providing Adequate Light:**
Place the container in a well-lit area, avoiding direct sunlight. Allow the cuttings to propagate for at least two months, periodically monitoring the development of roots and shoots.
**Step 7: Transferring to Soil:**
Once substantial root and shoot growth is visible, carefully remove the cuttings from the sponge. Plant them in a pot with soil conducive to San Severia growth, creating an environment that mimics their natural habitat.
**Conclusion:**
Congratulations, you’ve successfully propagated San Severia using a simple and effective technique! This method can be applied to various San Severia varieties, providing you with a diverse and thriving collection. Experiment, enjoy the process, and watch your propagated plants flourish. Share your experiences and thoughts in the comments below.

