
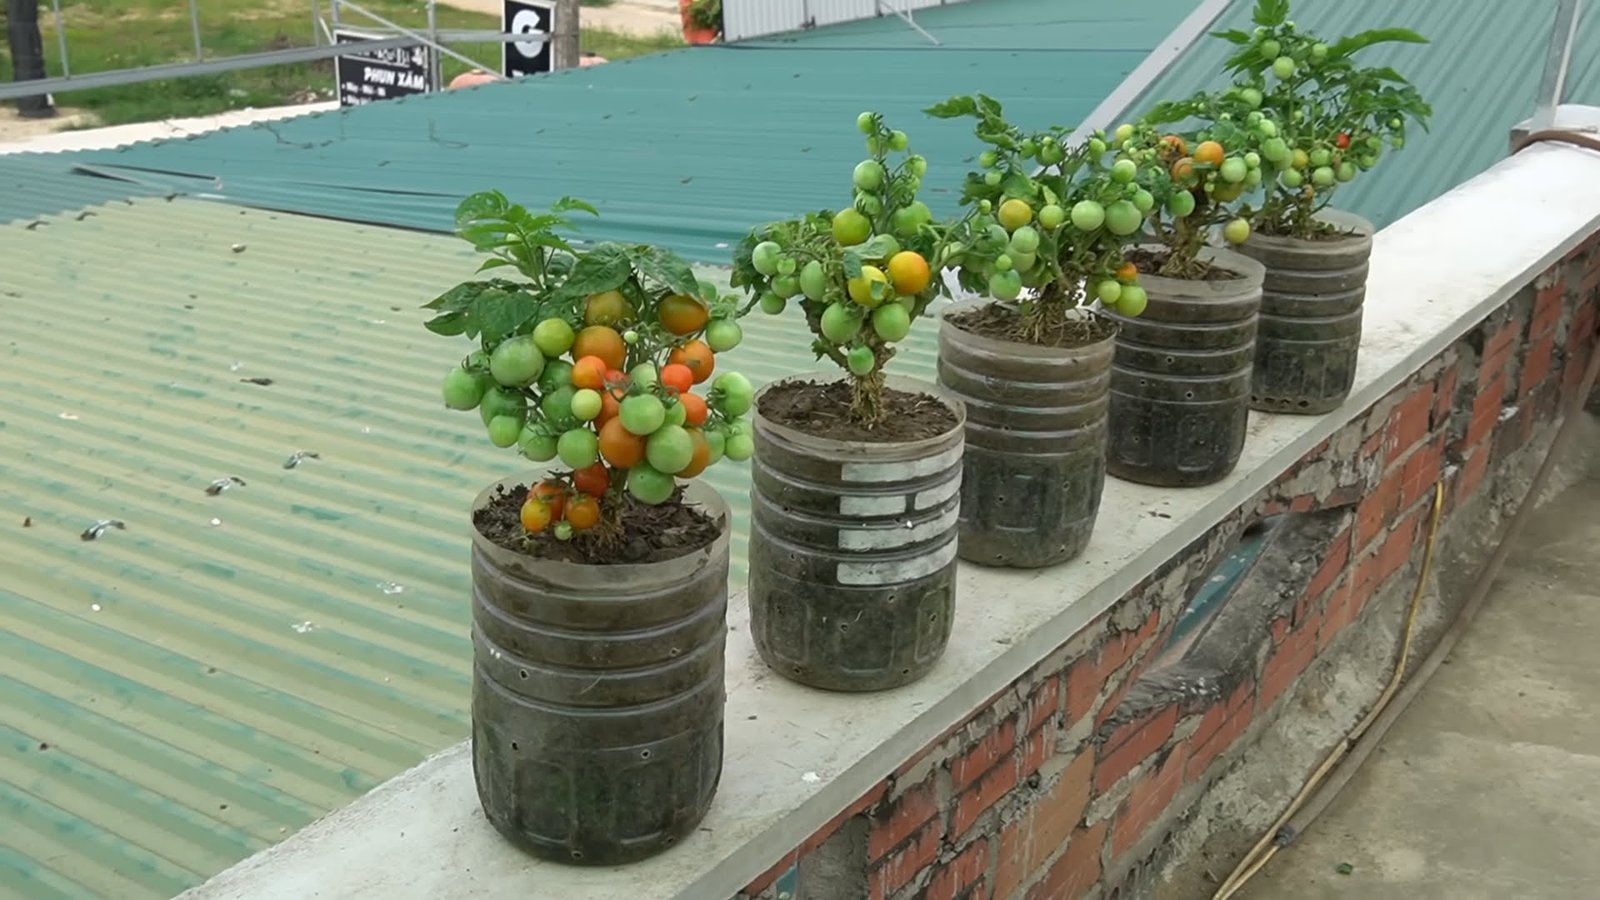
Growing tomatoes in plastic bottles is an excellent way for new gardeners to get started with limited space and resources. This method allows you to create a mini-greenhouse for your tomato plants. Here’s a step-by-step guide on how to grow tomatoes in plastic bottles easily and productively:
Materials you will need:
- Plastic bottles (2-liter soda bottles work well)
- Tomato seedlings or tomato seeds
- Potting soil or a mix of compost and garden soil
- A sharp knife or scissors
- String or twine
- Watering can or hose
- Fertilizer (optional)
- A sunny location (at least 6-8 hours of sunlight daily)
Steps:
- Prepare the plastic bottles: Clean and sanitize the plastic bottles by washing them thoroughly. Remove the labels and caps. You can also paint the bottles with white paint or wrap them in reflective material to help prevent the soil from heating up too much in direct sunlight.
- Cut the bottles: Using a sharp knife or scissors, cut the top third of each plastic bottle off, leaving the bottom two-thirds to use as a planter. The top part with the cap removed will serve as a cloche to protect the seedlings.
- Prepare the potting mix: Fill the bottom part of each bottle with potting soil or a mix of compost and garden soil. Leave some space at the top for watering.
- Plant the tomato seedlings: If you’re using tomato seedlings, gently transplant them into the soil-filled bottles. Ensure that the soil is packed firmly around the seedlings.
- Water thoroughly: After planting the seedlings, water them thoroughly to settle the soil and provide initial moisture to the plants.
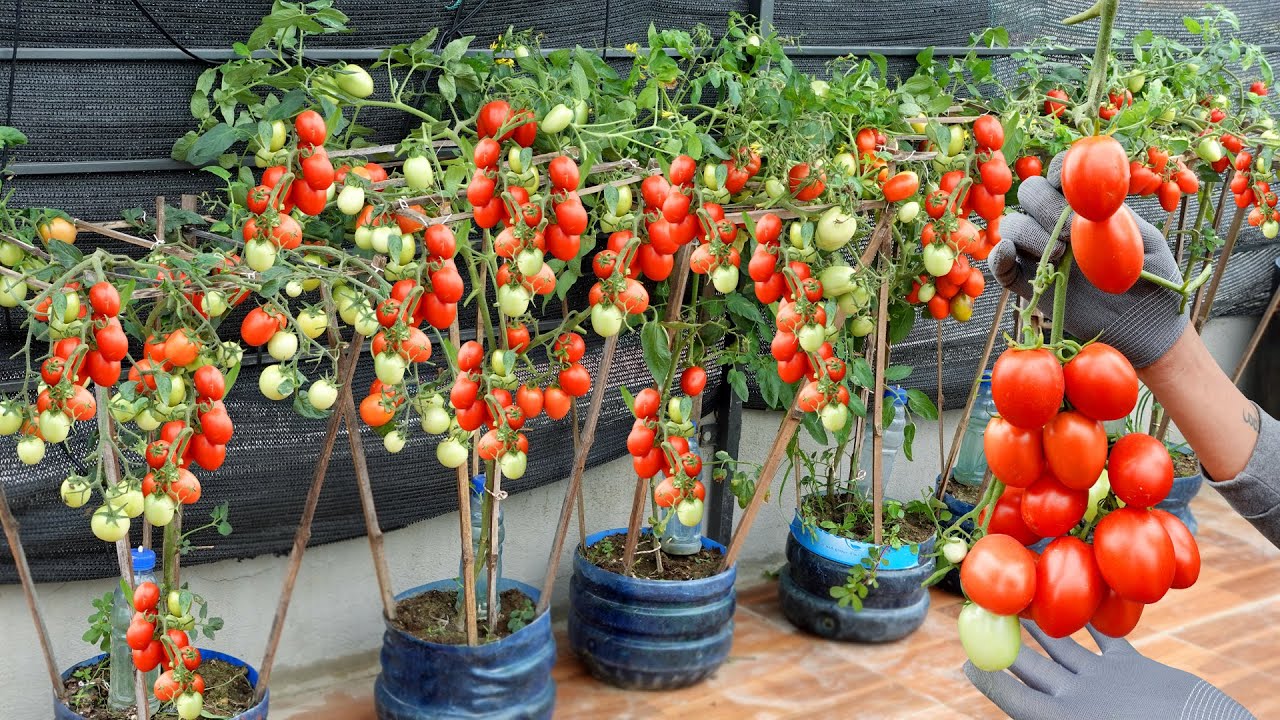
- Create supports: Insert a stake or a piece of string into the soil next to the tomato seedlings. As the tomatoes grow, they will need support to keep them upright. Secure the tomato plants to the stake or string as they grow.
- Place the cloches: Place the top parts of the plastic bottles, with the caps removed, over the seedlings like cloches. These will act as mini-greenhouses, protecting the seedlings from pests and providing a warm environment for growth. Ensure that there is some airflow by removing the caps or cutting small holes in the cloches.
- Watering: Water the tomato plants regularly to keep the soil consistently moist but not waterlogged. Be mindful not to overwater, as the bottles can retain moisture well.
- Fertilize (optional): If desired, you can feed your tomato plants with a balanced, diluted liquid fertilizer according to the manufacturer’s instructions. Fertilizing can promote healthy growth and fruit development.
- Provide sunlight: Place the tomato-filled bottles in a sunny location where they can receive at least 6-8 hours of direct sunlight each day.
- Pruning and maintenance: As the tomato plants grow, you can prune them by removing any suckers (the small shoots that grow between the main stem and branches). This helps direct energy into fruit production.
- Harvest: Once the tomatoes start to ripen, you can harvest them as they become ready for use.