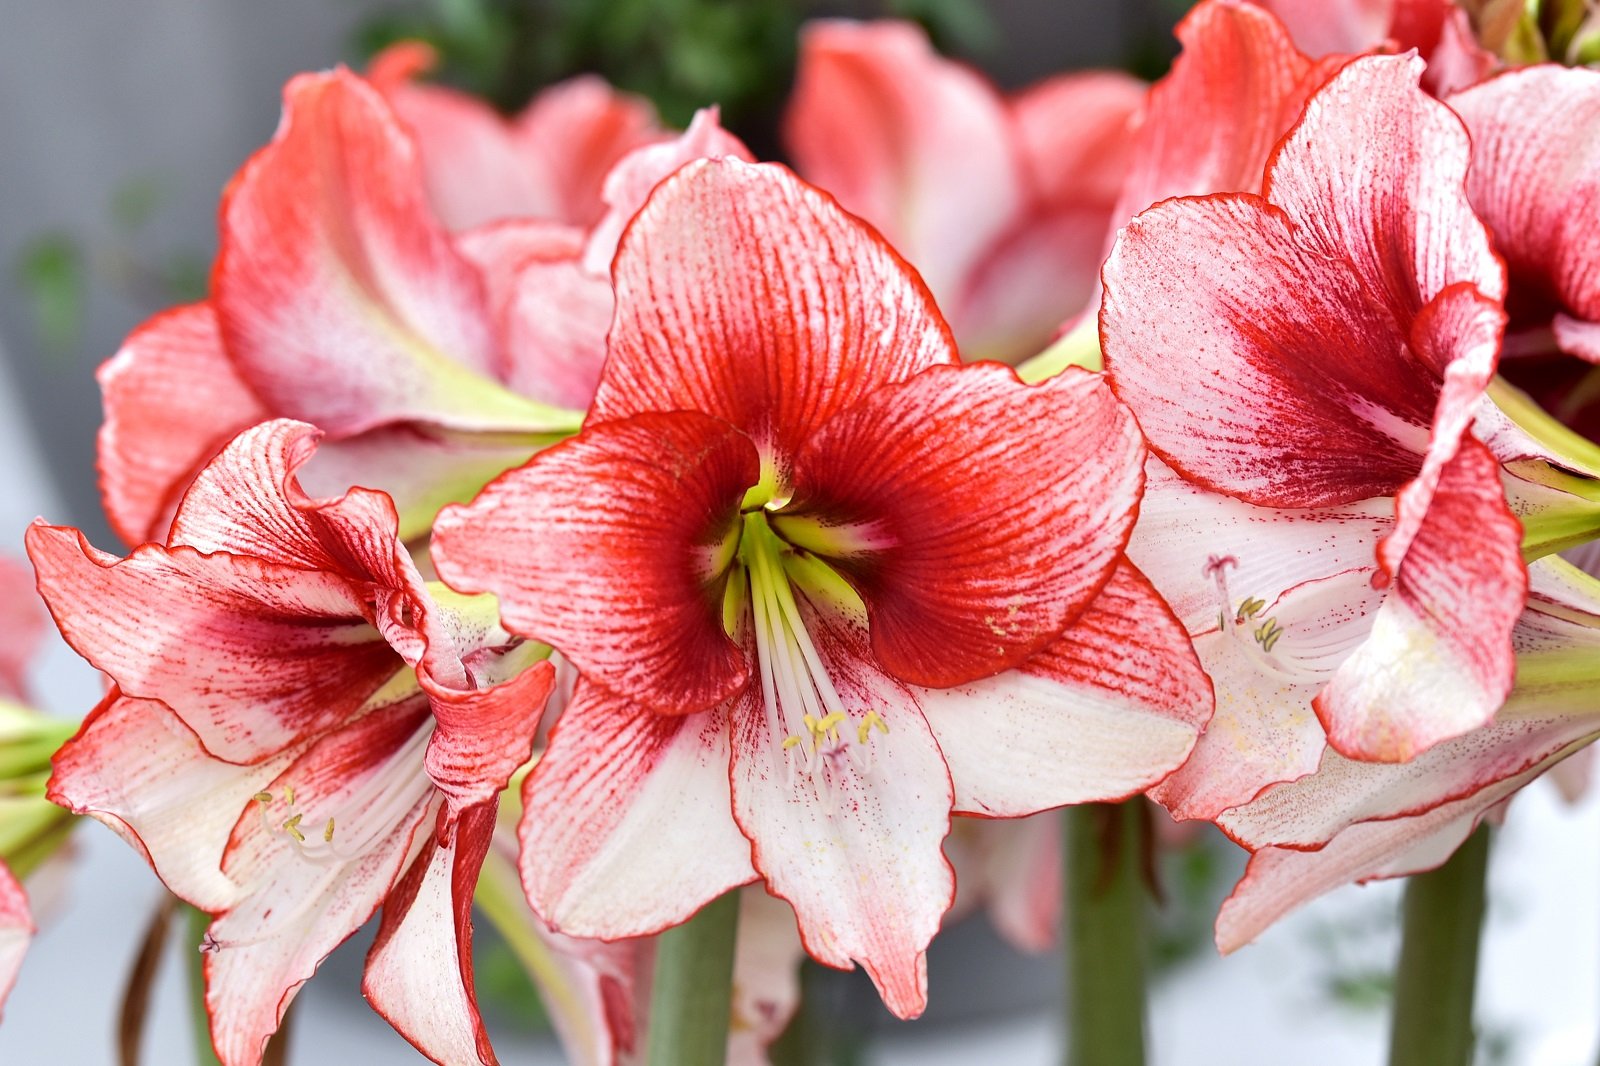
Introduction: Amaryllis, with its stunning blossoms and elegant stature, is a beloved flowering plant cherished by gardeners and indoor plant enthusiasts alike. While purchasing new bulbs can be costly, there’s a remarkable technique known as “assisted fertilization” that allows you to multiply your amaryllis blooms endlessly at no extra cost. In this article, we’ll unveil the secrets of assisted fertilization and guide you through the process of propagating amaryllis bulbs to create an ever-expanding garden of vibrant blooms.
Unlocking the Potential of Amaryllis Bulbs: Amaryllis bulbs contain all the genetic material necessary to produce new plants, making them ideal candidates for propagation through assisted fertilization. By harnessing the reproductive capabilities of amaryllis bulbs, gardeners can create a continuous cycle of growth and renewal, ensuring a steady supply of beautiful blooms year after year.
The Assisted Fertilization Method: Assisted fertilization is a simple yet effective method for propagating amaryllis bulbs using the pollen from one flower to fertilize the stigma of another flower. This process mimics natural pollination and allows for controlled breeding, resulting in the production of viable seeds within the amaryllis flowers. These seeds can then be harvested and germinated to grow new amaryllis plants, each bearing unique characteristics inherited from their parent plants.
Harvesting Amaryllis Seeds: To begin the assisted fertilization process, wait until your amaryllis plant has finished flowering and the seed pods have begun to form at the base of the flowers. Once the seed pods have matured and turned brown, carefully remove them from the plant and gently break them open to reveal the seeds inside. Collect the seeds and allow them to air dry for several days to prevent mold or rotting.
Germinating Amaryllis Seeds: After the seeds have dried, fill small pots or containers with a well-draining potting mix, such as a blend of peat moss and perlite or vermiculite. Plant the amaryllis seeds in the soil, spacing them evenly and covering them with a thin layer of additional soil. Water the seeds gently to settle the soil around them and provide adequate moisture for germination.
Caring for Amaryllis Seedlings: Place the pots of amaryllis seeds in a warm, bright location with indirect sunlight, such as a windowsill or greenhouse, where they will receive consistent warmth and light. Keep the soil consistently moist but not waterlogged, watering the seedlings whenever the top inch of soil feels dry to the touch. As the seedlings grow, provide support for their stems to prevent bending or breaking.
Transplanting Amaryllis Seedlings: Once the amaryllis seedlings have developed several sets of true leaves and are sturdy enough to handle, they can be transplanted into larger containers or directly into the garden soil. Choose a sunny location with well-draining soil for planting, and space the amaryllis seedlings according to the recommendations for your chosen variety.
Enjoying the Fruits of Your Labor: With proper care and attention, your amaryllis seedlings will continue to grow and flourish, eventually producing magnificent blooms that rival those of their parent plants. As the flowers unfurl in a riot of color and fragrance, savor the satisfaction of knowing that you have successfully propagated new amaryllis plants through assisted fertilization, creating a garden of endless beauty and abundance.
Conclusion: Assisted fertilization offers a fascinating and rewarding method for multiplying your amaryllis blooms indefinitely, allowing you to enjoy the magic of these stunning flowers year after year without the need to purchase new bulbs. By harnessing the reproductive potential of amaryllis plants, you can create a cycle of growth and renewal that brings joy and beauty to your garden for generations to come. Embrace the wonder of assisted fertilization and watch as your amaryllis garden flourishes with vibrant blooms, each one a testament to the power of nature and the ingenuity of the gardener.

