
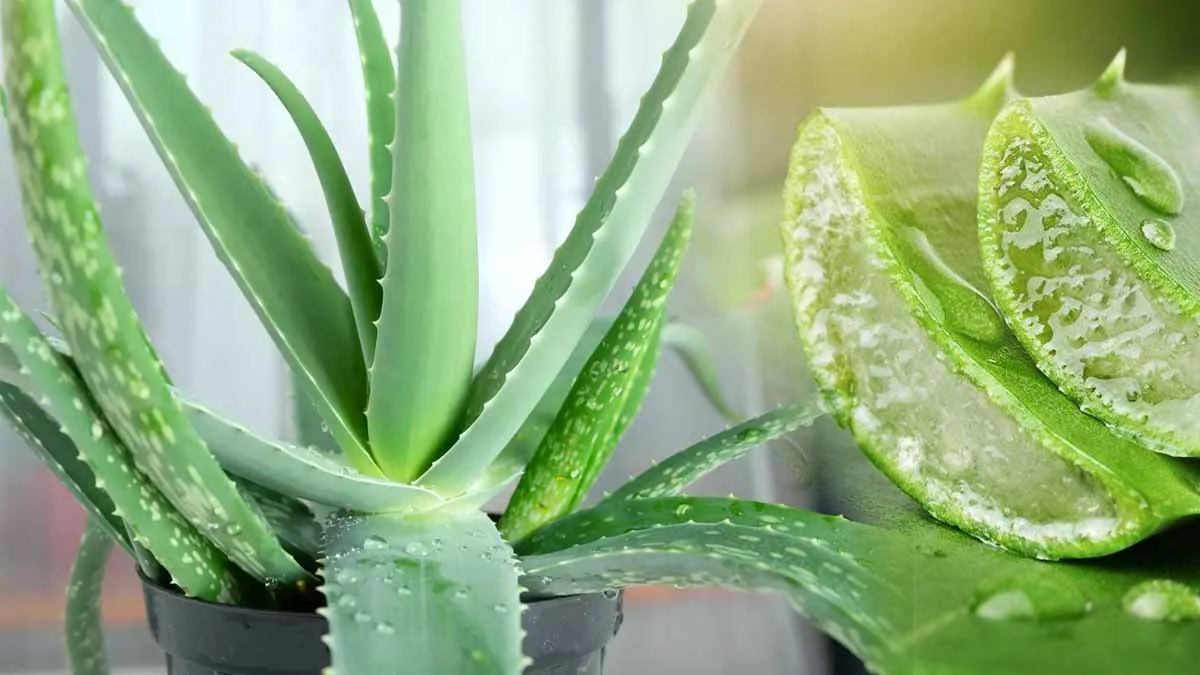
Aloe vera, known for its healing and soothing properties, is a must-have in every home garden. Not only does it add a touch of greenery to your living space, but it also comes in handy for minor burns, skin care, and even as a natural air purifier. If you’ve ever wanted to have more of these incredible plants around your home or share them with friends and family, you’re in luck. Multiplying your aloe vera plant is straightforward and satisfying. This complete guide will take you through every step of the process.
Understanding Aloe Vera Propagation
Aloe vera plants can be propagated in several ways, but the most efficient and successful method is through pup division. Pups are the baby plants that sprout from the base of the parent plant. When they reach a manageable size, you can separate them and pot them individually.
When to Propagate
The best time to propagate aloe vera is during the warmer months of spring and early summer. This period offers the optimal growing conditions for the new plants to establish themselves.
Tools and Materials Needed
- Clean, sharp knife or scissors
- Potting mix suitable for succulents
- Pots with drainage holes
- Optional: rooting hormone powder
Step-by-Step Guide to Propagating Aloe Vera
1. Identifying the Pups
Look for pups growing around the base of the parent plant. These should have their own roots or be clearly distinguishable from the main root system.
2. Removing the Pups
Carefully remove the aloe plant from its pot and gently shake off the soil to reveal the roots and connected pups. Using a clean, sharp knife or scissors, cut the pup away from the main plant, ensuring it has some roots attached. If the pup doesn’t have roots yet, you’ll need to wait a bit longer before separating it.
3. Prepping the Pups
After separating the pups, place them in a warm, dry place out of direct sunlight for 1-2 days. This allows the cut area to callous over, which helps prevent rot once potted.
4. Potting the Pups
Fill pots with a well-draining potting mix designed for succulents. Plant the pups in their pots, setting them deep enough to stand upright. While rooting hormone is generally not necessary for aloe vera, a light dusting can encourage faster root development.
5. Caring for Your New Aloe Vera Plants
Water the newly potted pups lightly to settle them into their new homes. For the first few weeks, keep the soil lightly moist but not waterlogged. Place the pots in a location where they will receive bright, indirect sunlight. Avoid direct sunlight initially, as it can stress the young plants.
Aftercare Tips
- Watering: Allow the soil to dry out completely between waterings. Overwatering is a common mistake that can lead to root rot.
- Feeding: Aloe vera plants benefit from a half-strength succulent fertilizer once in the spring and again in late summer.
- Repotting: As your aloe vera grows, it may become top-heavy or outgrow its pot. Repotting in a larger container can help maintain its health and stability.
Common Mistakes to Avoid
- Overwatering: More aloe vera plants meet their demise from overwatering than from any other cause. Ensure good drainage and allow the soil to dry between waterings.
- Too Much Sun: While aloe vera plants love bright light, too much direct sunlight can scorch their leaves, especially right after potting.
- Ignoring Pests: Keep an eye out for common pests such as scale, mealybugs, and spider mites. Treat infestations early with appropriate measures.
Conclusion
Propagating aloe vera is a rewarding experience that can multiply your collection and provide you with plants to share. By following these steps and providing the right care, you can enjoy the benefits of these versatile plants throughout your home. Remember, patience is key. Give your new aloe vera plants time to adjust and grow, and before you know it, you’ll have a thriving collection of these amazing succulents.