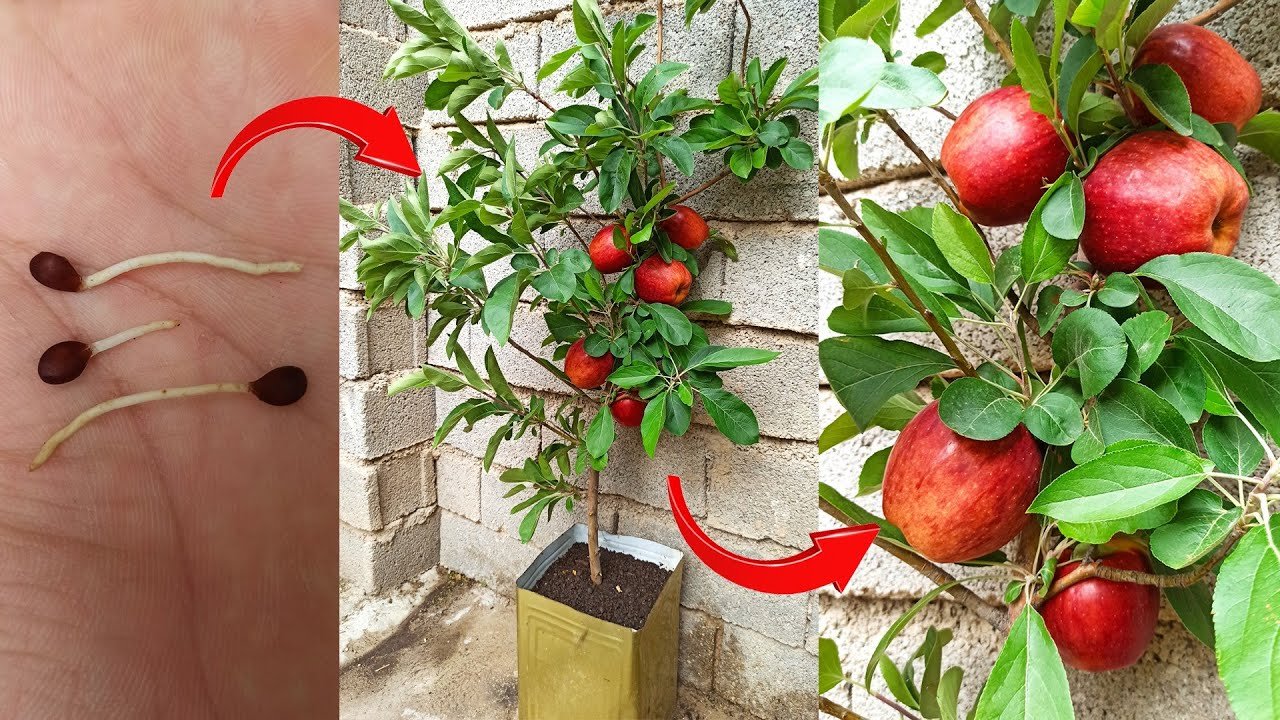
Embarking on the cultivation of apple trees from the humble beginnings of a supermarket apple is a rewarding venture that harmonizes with nature’s rhythm. This detailed guide will walk you through the miraculous process of turning seemingly ordinary apple seeds into thriving, fruit-bearing trees. Prepare to be enlightened with tips and techniques that will empower you to sprout your own apple seeds in just a week, setting the stage for a botanical adventure right in your backyard.
#### Selecting the Perfect Candidate
The journey begins with choosing a ripe apple, the riper, the better. Inside this mature fruit lie the seeds, eager to sprout under the right conditions. Carefully slice the apple without harming the seeds nestled within. A simple kitchen knife will suffice for this operation, but proceed with caution to avoid damaging the precious seeds.
#### Harvesting Seeds with Precision
Gently twist the apple halves apart to expose the seeds. This method ensures that the seeds are retrieved intact, ready for the next step in their growth journey. By carefully removing the seeds and setting them aside, you’re laying the groundwork for what will become beautiful saplings.
#### Germination: The First Step
To begin germination, place the seeds on a moist, cloth towel inside a transparent container, which allows for a hermetically sealed environment, conducive to sprouting. This setup prevents the seeds from drying out or becoming too damp. Position the container in a well-lit area but shield it from direct sunlight to foster ideal sprouting conditions.
#### Observing Sprout Development
Within ten days, inspect your setup to witness the emergence of tiny roots. This moment marks a significant milestone in the life of an apple seed, indicating a successful start. In this experiment, out of nine seeds, four have already begun to showcase small roots, a promising sign of future growth.
#### Planting Sprouted Seeds
Once the seeds have developed roots, they are ready to be planted. Use a pot filled with quality potting soil or peat moss, ensuring it offers gentle drainage and a nurturing environment for the young saplings. Carefully plant the seeds, root down, into the soil, taking care not to damage the delicate sprouts. A thin layer of soil can cover the seeds, leaving the cotyledons (the first leaves) partially exposed to the air.
#### The Growth Journey
After planting, place the pot in a bright location but avoid direct sunlight, especially in the sapling’s first year. In just a few days, the seed heads will emerge from the soil, revealing the cotyledons. As the plant grows, it will quickly develop true leaves, marking the start of its journey towards becoming a robust apple tree.
#### Flourishing into Maturity
Over months, the sapling will transform, reaching heights of over 20 centimeters with multiple leaf sets, signaling its vigorous health and aesthetic beauty. Within six to eight months, it’s essential to start the grafting process if you aim for larger, high-quality fruits. Grafting, a simple yet crucial technique, ensures that the apple tree will bear the desired fruit type and size.
#### A Fruitful Future
As years pass, the apple tree will mature, potentially reaching heights of over 4 meters, and begin its cycle of flowering and fruit production. The quantity and quality of the fruit will improve with age, promising bountiful harvests for years to come.
#### Final Thoughts
Growing apple trees from seeds is a testament to the wonders of nature and human patience. This guide not only aims to educate but also to inspire you to embark on your horticultural journey. Witnessing the transformation from a simple seed to a flourishing tree is a rewarding experience that enriches one’s understanding and appreciation of the natural world. Let this adventure into apple tree cultivation be a fruitful endeavor in your gardening pursuits.

