
**Introduction:**
Garlic, a staple ingredient in countless cuisines worldwide, offers not only flavor but also a host of health benefits. Cultivating your own garlic can be a rewarding and satisfying endeavor. From selecting the right bulbs to harvesting and curing them, this comprehensive guide will walk you through each step of the process, ensuring you grow flavorful bulbs bursting with freshness.
**1. Selecting the Perfect Garlic Bulb:**
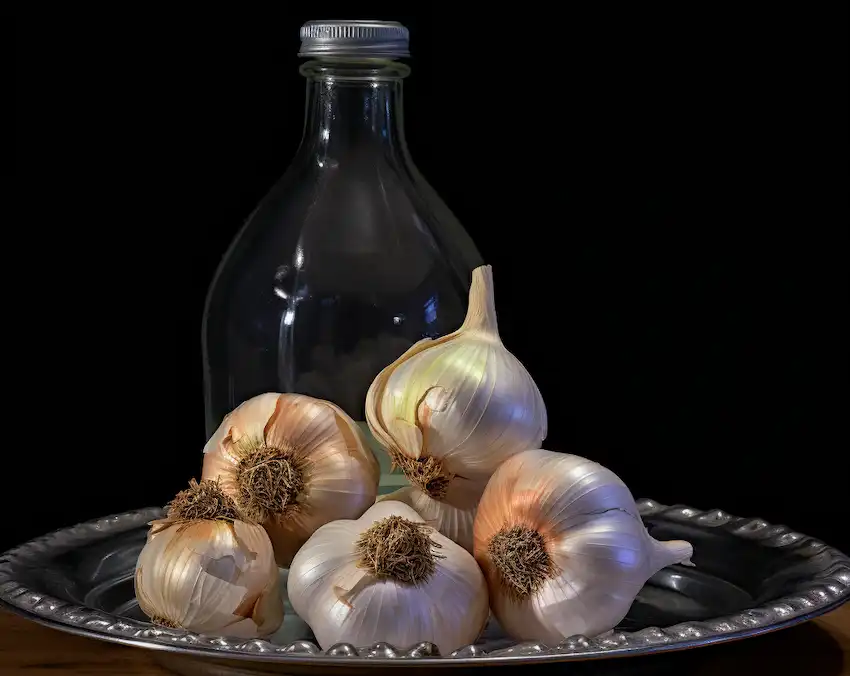
Begin your garlic-growing journey by selecting healthy bulbs from reputable sources or your local market. Look for bulbs free from any signs of disease or damage, ensuring you start with the best possible foundation for your crop.
**2. Preparing Water Bottles for Germination:**
Clean and sanitize 5-liter water bottles or similar containers, removing labels and rinsing them thoroughly with warm water. These will serve as the initial germination vessels for your garlic cloves.
**3. Germinating Garlic Cloves:**
Divide the garlic bulb into individual cloves, ensuring the papery skin remains intact. Place the cloves in the water-filled bottles, ensuring the bottom (flat end) of each clove is submerged.
**4. Providing Optimal Light and Heat:**
Position the water bottles in a warm, well-lit area, preferably on a sunny windowsill receiving direct sunlight for 6-8 hours daily. Garlic thrives in temperatures ranging from 55-75* °F (13-24°C), creating the ideal conditions for germination.
**5. Water Maintenance:**
Change the water every two to three days to prevent mold or bacterial growth and ensure the cloves receive fresh nutrients for optimal growth.
**6. Root Development:**
After several days, you’ll notice roots beginning to form at the bottom of the cloves. Allow these roots to reach a length of 1-2 inches (2.5-5 cm) before transplanting.
**7. Transplanting Garlic Seedlings:**
Choose a sunny location with well-draining soil enriched with compost or aged manure. Plant the cloves about 2 inches (5 cm) deep with the pointed end facing upward, spacing them 4-6 inches apart in rows spaced 12 inches apart.
**8. Care and Maintenance:**
– **Mulching:** Apply a layer of organic mulch (such as straw, shredded leaves, or grass clippings) around the plants to retain moisture, suppress weeds, and protect the garlic during winter.
– **Fertilization:** Moderate feeding with balanced fertilizer or compost tea during the growing season will support healthy bulb development.
– **Garlic Scapes:** Trim any curly green shoots, known as scapes, during the growing season to redirect energy towards bulb formation rather than seed production.
– **Pest and Disease Control:** While garlic is relatively resistant to pests and diseases, monitor for any issues and remove yellowing or damaged leaves promptly to prevent spread.
**9. Harvesting and Curing:**
Harvest garlic when the lower leaves begin to yellow and die back, typically in late spring or early summer. After harvesting, gently brush off excess soil and allow the bulbs to dry in a warm, well-ventilated area for 2-3 weeks. This curing process enhances storage life and intensifies flavor.
**10. Tips for Successful Garlic Cultivation:**
– **Choose the Right Variety:** Select garlic varieties suited to your climate and culinary preferences, whether softneck or hardneck types.
– **Planting Time:** Aim to plant garlic in autumn, allowing bulbs to establish roots before winter dormancy and early spring growth.
– **Avoid Overwatering:** Garlic prefers slightly moist soil, so water deeply and infrequently to prevent rot and other issues.
– **Crop Rotation:** Rotate garlic with other Allium family crops to minimize soil-borne diseases and maintain soil health.
– **Save Your Best Bulbs:** Reserve some of your best bulbs from each harvest for replanting, ensuring a continuous supply of garlic adapted to your growing conditions.
**Conclusion:**
With these detailed guidelines, you’re well-equipped to embark on your garlic-growing journey. From selecting quality bulbs to nurturing them through each growth stage, cultivating your own garlic promises not only delicious flavors but also the satisfaction of harvesting your homegrown bounty.