
Introduction:
Greetings to all enthusiasts of horticulture! In this comprehensive guide, we will delve into the art of propagating olive trees from cuttings, unlocking the secrets to cultivating magnificent olive orchards. Forget the need to wait for summer – we’ll show you a technique that yields excellent results almost instantly. Let’s embark on this journey of olive tree propagation, ensuring success from the very beginning.
Section 1: Selecting the Right Olive Branch
To kickstart your olive tree propagation venture, choose a branch that meets three essential criteria. The branch should be at least 40 centimeters long and 0.5 to 0.6 centimeters in diameter, ideal for a tree aged between one and two years. The cutting should exhibit flexibility without being overly brittle, ensuring the upper and lower portions are suitable for creating a robust new root system.
Section 2: Pruning Techniques
Use pruning shears to diagonally cut the basal part of the branch in alignment with the clean cut of the trunk. This careful cut sets the stage for successful root formation. Continue by pruning the upper part, ensuring it is slightly angled in relation to the clean cut of the trunk, facilitating optimal growth conditions for your future olive tree.
Section 3: Trimming and Preparing the Cutting
Trim away excess leaves and unnecessary branches to create a clean slate for your cutting. By removing unnecessary growth, you ensure that the remaining leaves and branches will efficiently support the emerging roots.
Section 4: Rooting Hormones and Additional Tips
For an extra boost, consider using rooting hormones to enhance root development. Apply the hormone to the live parts of the cutting, promoting a larger surface area for optimal effectiveness. This step is crucial for ensuring a robust root system, especially if you don’t have access to hormone powders.
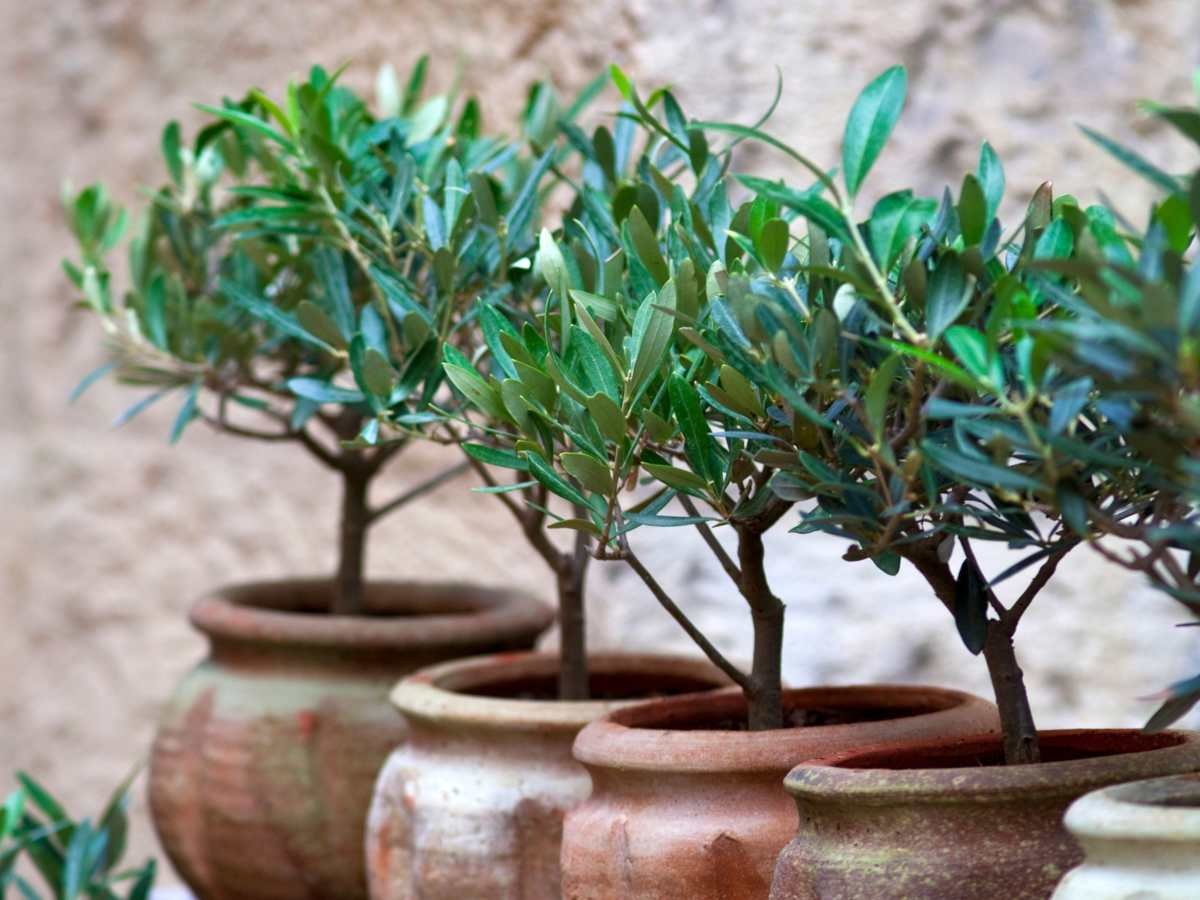
Section 5: Potting and Growing Environment
Place the prepared cutting in a pot with a well-draining soil mix. Create a hole around 10 centimeters deep and a few centimeters wide, ensuring a snug fit for the cutting. This step prevents the loss of hormones and promotes a secure and stable growing environment.
Section 6: Controlled Growth Environment
Enclose the potted cutting in a plastic bag, creating a mini-greenhouse effect. Position the pot in a well-lit area, avoiding direct sunlight to prevent excessive heat buildup. This controlled environment with constant temperature and humidity encourages successful root development.
Conclusion:
As you embark on your olive tree propagation journey, remember that patience is key. By following these detailed steps, you’ve set the foundation for a thriving olive tree that will eventually bear beautiful flowers and fruits. Share your success stories, challenges, and tips in the comments below, and don’t forget to spread the knowledge by sharing this guide on social media.