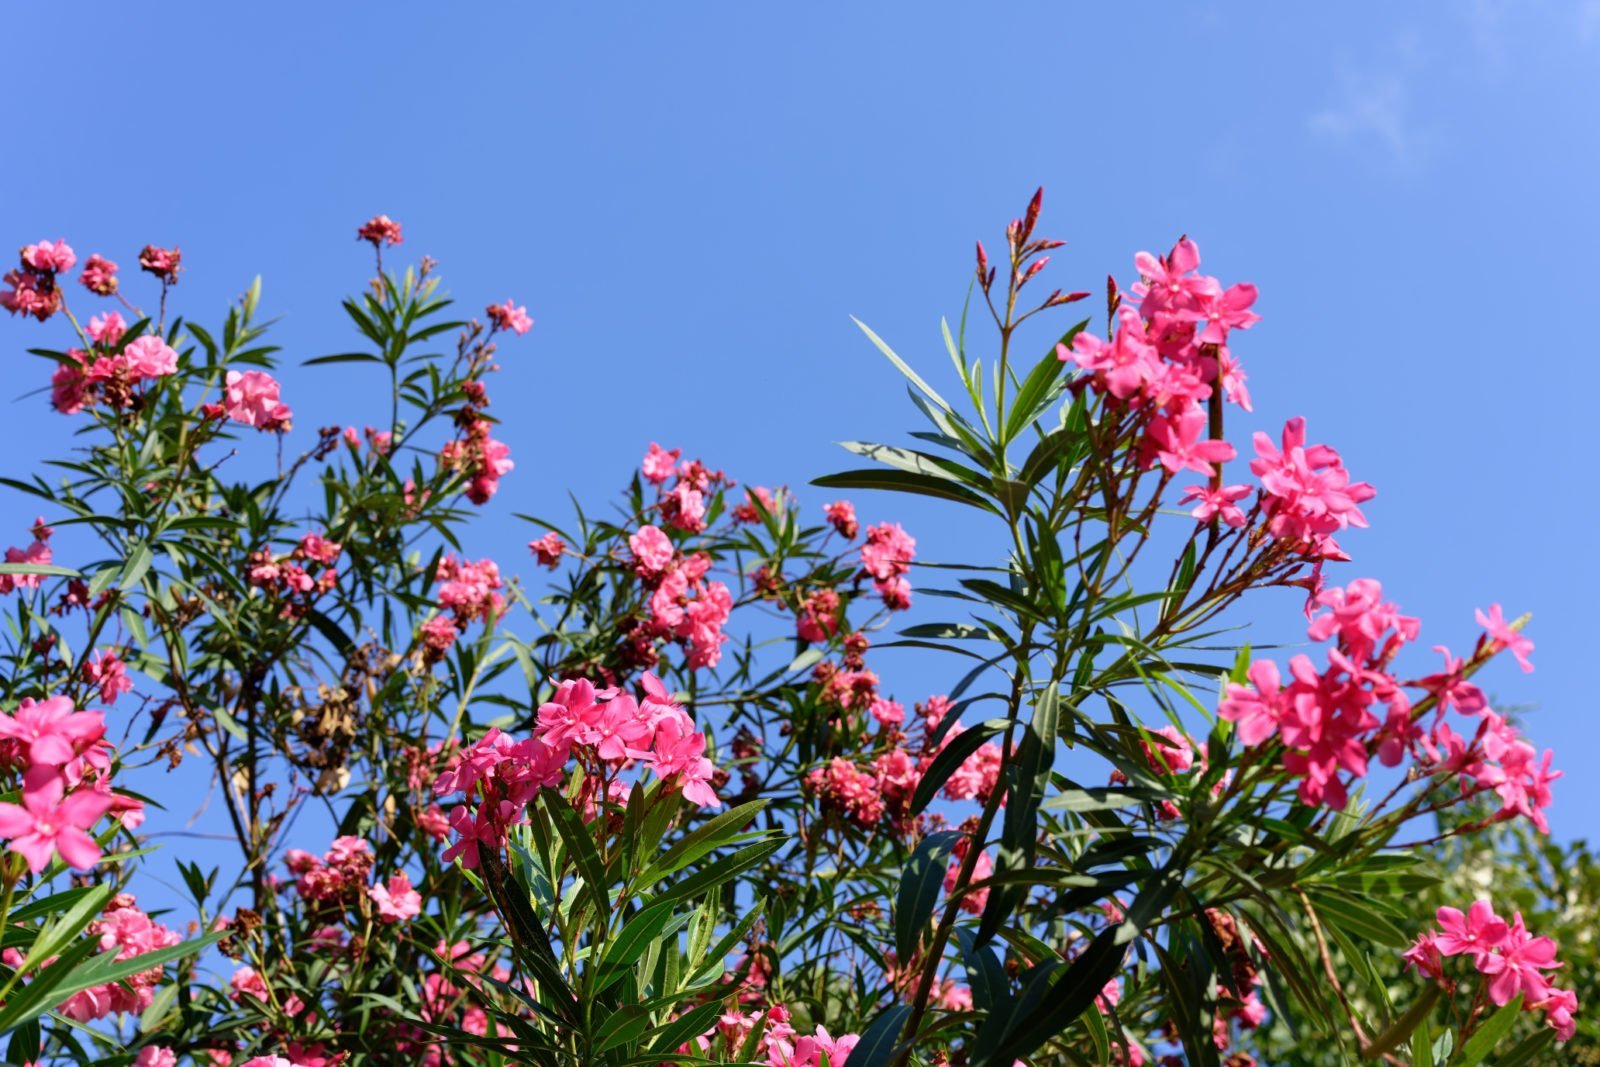
Greetings to all gardening enthusiasts! In this comprehensive guide, we will delve into the fascinating world of propagating oleander plants from a tiny cutting. With straightforward techniques that require minimal resources, you can cultivate roots and blossoms without incurring any costs. By following the steps outlined in this article, you’ll soon witness the extraordinary growth of an impressive oleander.
**Step 1: Choosing the Right Cutting**
The initial step in this process is selecting a suitable cutting. Variety and color are not crucial for experimental purposes. Opt for a healthy branch of approximately 80 cm in length from the parent plant.
**Step 2: Pruning for Optimal Water Absorption**
To enhance water absorption, create diagonal cuts on the lower end of the cutting. This promotes increased surface area for water intake and facilitates root development. Use clean pruning shears to ensure a precise cut.
**Step 3: Creating Strategic Cuts for Root Formation**
After the first pruning, wait for around 20 cm of growth, then make another diagonal cut, this time securing it tightly with a support structure. This prevents the plant from diverting nutrients to unnecessary branches, ensuring the energy is directed towards root and shoot development.
**Step 4: Pruning Excess Leaves for Efficient Growth**
Although leaves are essential for photosynthesis, excess foliage can hinder the plant’s initial growth. Carefully remove some leaves, leaving a portion at the top for continued respiration.
**Step 5: Preparing Multiple Cuttings for Better Success**
For a higher success rate, prepare multiple cuttings simultaneously. This increases the likelihood of obtaining viable seedlings at the end of the experiment. Consider preparing more cuttings than needed to ensure a successful outcome.
**Step 6: Water Propagation in a Transparent Container**
Place the cuttings in a transparent container filled with approximately 15 cm of water. Ensure that the lower portion of the cuttings is submerged at least 10 cm in water. Allow the cuttings to root in water for ten days.
**Step 7: Transferring Cuttings to Soil**
After observing the development of roots, carefully transfer the cuttings to a container with expanded clay pellets. This not only prevents water stagnation but also creates an ideal environment for root development.
**Step 8: Planting in Universal Soil**
Plant the cuttings in universal soil, ensuring that the roots are gently covered. Be cautious not to press too hard, as excessive pressure may damage the newly formed roots.
**Step 9: Growth Progression**
Over the course of several months, monitor the plant’s growth. After approximately six months, the oleander should have developed multiple shoots, each around 10 cm in length. Witness the transformation from a small cutting to a flourishing plant.
**Conclusion: A Rewarding Journey of Oleander Cultivation**
In conclusion, this video demonstration illustrates how with minimal effort and attention to detail, you can propagate a magnificent oleander plant from a humble cutting. From roots to blossoms, witness the transformation of your oleander, proving that with dedication, even the simplest gardening experiment can yield stunning results. Embrace the joy of cultivating nature’s beauty at home.
If you found this guide informative and enjoyable, don’t forget to like, comment for more enriching content.

