
Greetings, gardening enthusiasts! Today, we embark on a journey to explore the fascinating process of propagating roses, specifically focusing on the delicate art of cultivating rose bushes from cuttings. In this comprehensive guide, we will walk you through each step, providing valuable insights and expert tips to ensure your success in this rewarding endeavor.
## Step 1: Selecting the Perfect Cutting
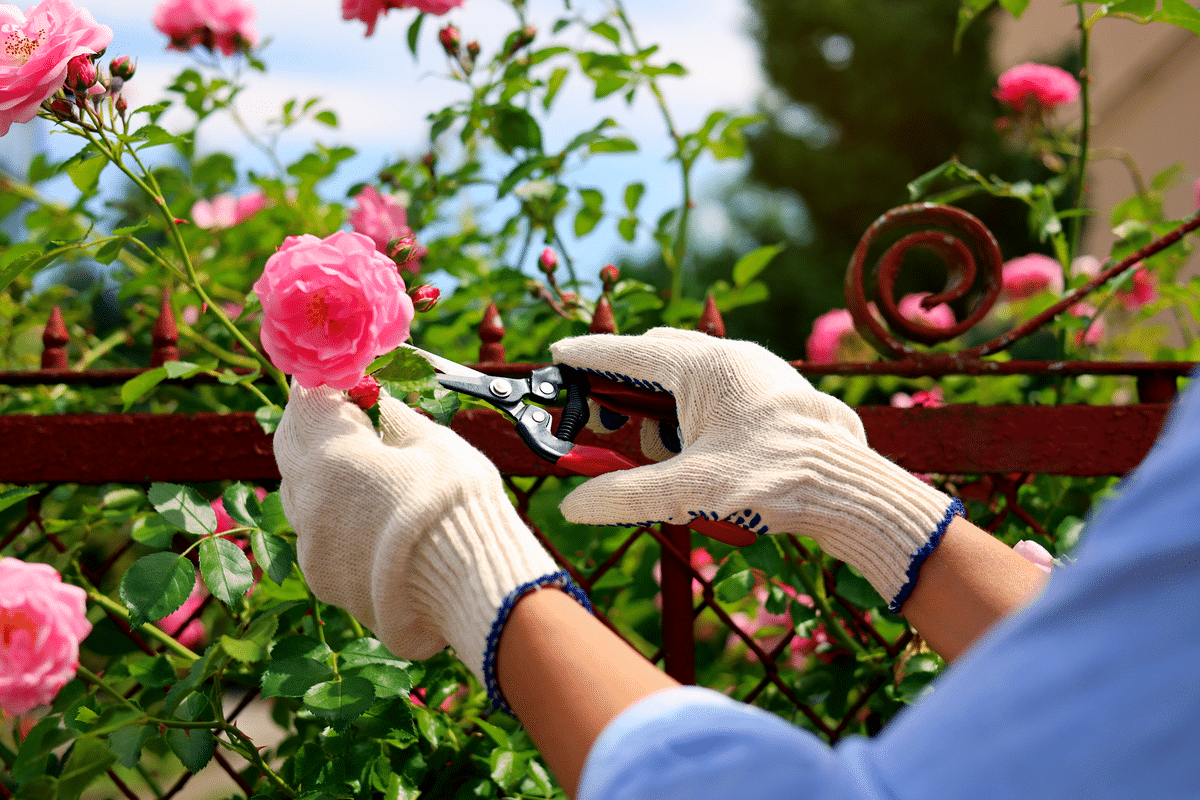
To kickstart your rose propagation journey, begin by choosing a healthy rose stem or cane. Opt for a cutting that is approximately 50-60 centimeters in length and exhibits a well-developed network of lateral branches. This ensures a robust foundation for your new rose plant.
## Step 2: Making the Precision Cut
Carefully cut the selected stem at a 15-20 centimeter length from the top, emphasizing a clean, horizontal cut just below a set of leaves. This strategic cut is essential for encouraging successful root development in your propagated rose.
## Step 3: Refining the Cutting
Focus on the lower end of your cutting, precisely below a leaf node, and execute a vertical cut to create a clean surface. This step is crucial for optimizing the absorption of nutrients and water during the propagation process.
## Step 4: Planting the Cutting
Prepare a well-balanced planting mix by combining 70% expanded clay, 20% peat moss, and 10% sand. Fill a terracotta pot with this mixture, ensuring it has proper drainage. Plant your rose cutting at a depth of 12 centimeters to prevent waterlogging and promote healthy root development.
## Step 5: Enhancing Rooting with Aspirin
Believe it or not, aspirin can play a role in boosting root development. Crush non-coated aspirin tablets and sprinkle the resulting powder on the cut surface of your rose cutting. Alternatively, you can use rooting hormones for this purpose.
## Step 6: Creating a Supportive Microclimate
To further encourage root growth, fashion a simple scaffold using wooden sticks to create a microclimate around your rose cutting. This aids in shielding the cutting from excessive sunlight and wind, fostering an ideal environment for successful propagation.
## Step 7: Regular Moisture Check
Maintain a consistent level of moisture in your potting mix to ensure optimal growth conditions. Use a watering can to gently water the soil, and periodically check the moisture levels to prevent dehydration or overwatering.
## Step 8: Monitoring Root Formation
Be patient as your rose cutting begins its journey towards establishing roots. After a week, observe the base of the leaves for signs of new growth. This indicates the successful initiation of root development, paving the way for a thriving rose plant.
## Step 9: Transplanting to Larger Containers
Once your rose cutting has developed sufficient roots, carefully transplant it into a larger container or directly into your garden. Ensure the new location provides ample sunlight and well-drained soil to support continued growth.
## Conclusion
Congratulations! You’ve successfully unlocked the art of rose propagation. We hope this step-by-step guide has enriched your knowledge and provided valuable insights into cultivating beautiful roses from cuttings. Feel free to share your experiences and insights in the comments below.