Introduction:
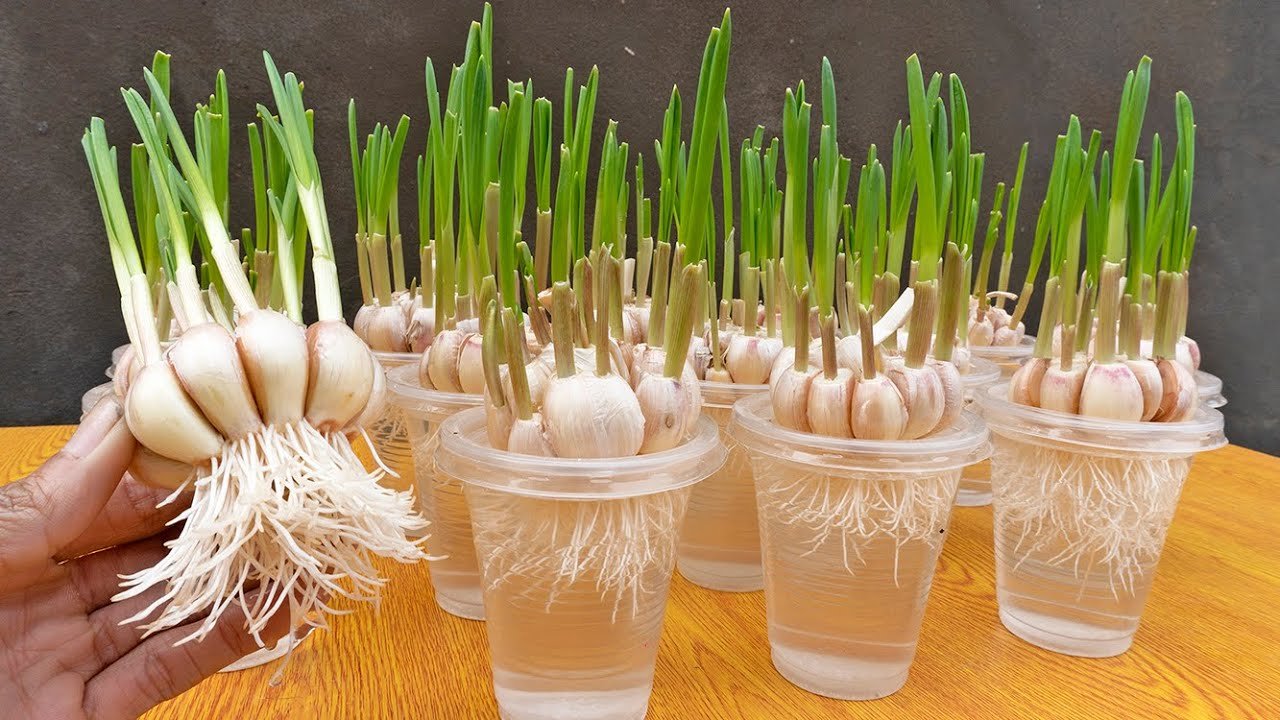
Welcome to the enchanting world of sustainable gardening! In this article, we’ll explore an innovative way to repurpose disposable plastic cups for growing garlic in water. Follow along as we guide you through each step, from preparing the cup to transplanting your garlic seedlings for a bountiful harvest.
Section 1: The Setup
To embark on this eco-friendly gardening journey, start with a disposable plastic cup and a lid. A 300 or 500 ml cup is ideal. Remove the lid and create a hole in its center, matching the size of a garlic bulb. This cleverly designed lid will become a crucial element in your garlic-growing adventure.
Section 2: Preparing the Garlic
The success of your garlic growth begins with proper garlic preparation. Peel away the skin to expose the cloves, and trim the base to enhance moisture absorption and root growth. A little trim at the top of each clove promotes the emergence of leaves, ensuring a healthy and vibrant garlic plant.
Section 3: Assembling the Setup
Should the hole in the lid be slightly larger than the garlic bulb, fear not! A toothpick can serve as a perfect solution. Position the toothpick between the outer cloves on opposite sides, securing the garlic bulb in place. This thoughtful arrangement ensures stability, even if the toothpick pierces some of the smaller innermost cloves.
Section 4: The Germination Process
Fill the cup to the brim with clean water and place the prepared garlic on the lid. Allow this setup to thrive in a partially shaded area for four days. Witness the magic unfold as garlic cloves begin to sprout, presenting a low-maintenance and efficient germination process.
Section 5: Transplanting Garlic Seedlings
After eight days, the sprouted garlic cloves are ready for transplanting. Remove the toothpicks, as the cloves would have swollen due to water absorption, and the roots would have developed extensively. Follow our step-by-step guide to transplanting, ensuring each clove finds its place in a well-prepared basin with proper drainage.
Section 6: Post-Transplant Care
Following the transplant, water lightly and keep the garlic in a partially shaded area to reduce transplanting shock. Five days later, add an additional layer of soil to cover any partially exposed cloves. Gradually move the setup out of the shade and water it lightly.
Conclusion:
Your journey from plastic cup to garlic harvest is complete! With care and dedication, your garlic will mature in about eight to nine months, rewarding you with homegrown goodness.

